0
Browsing Category

Quilting Techniques

0 In Handi Quilter Machines/ Quilting Techniques

Free motion quilting on the Handi Quilter Avante longarm

I want to share my latest accomplishment. This time I made a bed quilt for my kids on my Handi Quilter Avante longarm machine. It took me a little bit of time to make friends with my new machine. I will admit I was slightly intimidated even though I had been trained to use it by the trained staff at Handi Quilter in Salt Lake City, Utah. It was a change from my comfortable home machine — moving the machine rather than the fabric — and the speed was just incredible. However, it didn’t take long for me to see the merits of my new friend. I definitely found a new comfort zone. Continue Reading →

0 In Quilting Techniques

Tips for piecing squares precisely and saving time

I am working on a fantastic project — a Memory Quilt. Photos to come… It’s more traditional than I usually do, and I worked out some techniques that have made the work faster and more precise. The border is hundreds of black and white squares. I cut 2 sets of black and white strips with right sides together at once. Then I cut up the squares. The result is 4 squares arranged in sets just as they will be sewn. No need to sort them and arrange them. Just sew them together and don’t forget chain piecing. It’s so efficient and you save on thread. That is the first step.
Then I sew the pairs to each other. At first I was sewing two long rows and then attempting to butt all the seams. But if I sew pairs to each other, there is only one seam to butt each time. The sewing is quick and they always align.
I thought I would share this with all my quilting and fabric artist friends. Hope it saves all of you some time!

Here are some photos.

Strip piecingChain piecingCheckered border
0 In Quilting Techniques

Practice can be a spiritual inspiration: A lesson in quilting feathers

There is a saying, “From your students you will be taught…” Here is a story about a good friend of mine, Riki, to whom I teach quilting. Riki has a special quality. She believes in the value of practice. She told me that she once learned with a music teacher as a girl who used to say:

“…Every song you sing should show some evolution from one to the next. Everyday practice is an occasion to evolve. When we practice, though it doesn’t seem like much, it is actually a spiritual event and should be treated as such…”
Riki keeps these words in mind as she works on any project. Continue Reading →

0 In Quilting Techniques

What do you do with all those leftover fabric snippets, my quilting friends???

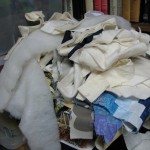
Today a student of mine gently commented that when she works at my sewing station, “things fall on the floor”. I looked at the workspace and was embarrassed to agree that it was cluttered beyond reason with tiny pieces of fabric snippets and small scraps from my most recent projects. They tell us to keep them so we can use them in tomorrows projects… But what do we do with them once they become cluttered piles? What do you do with batting scraps? Space is not infinite and too many piles are overwhelming.

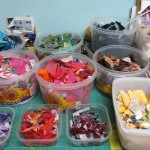
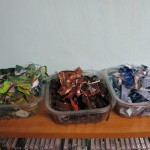
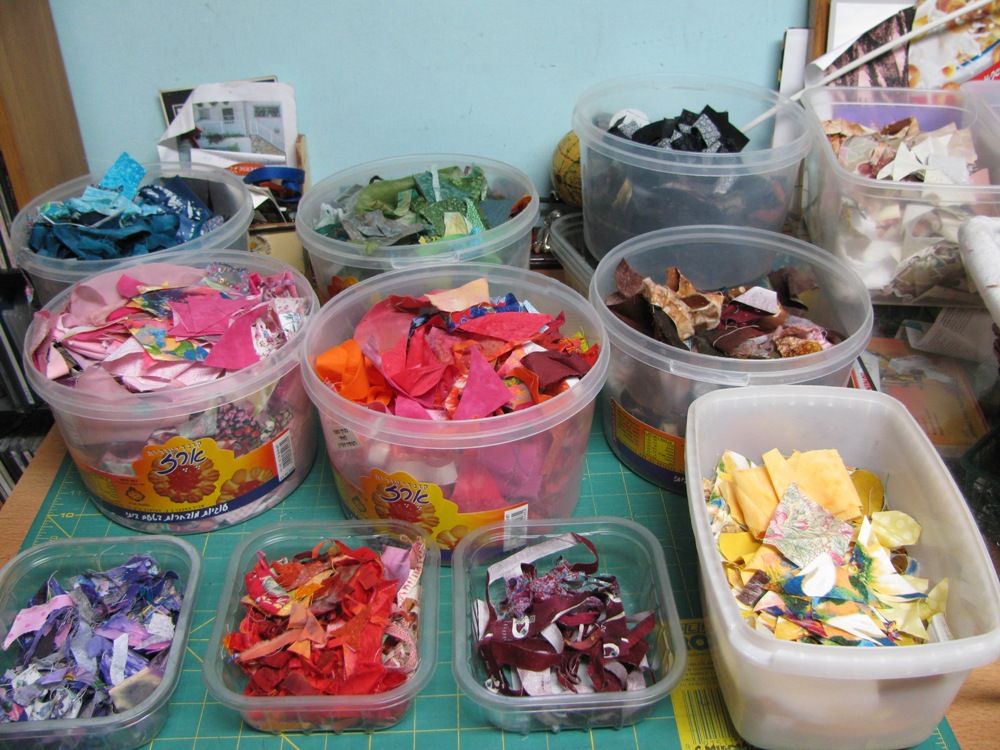
I started the tedious job of sorting them by color. Small snippets went into small plastic containers from my husband’s cold cuts… Large pieces went into the old cookies containers we bought and saved. I sorted till I thought I would scream. I actually took a water break long enough to describe this story here, during which time, one of our many cats came in and dumped two of the containers. OH DEAR!!!

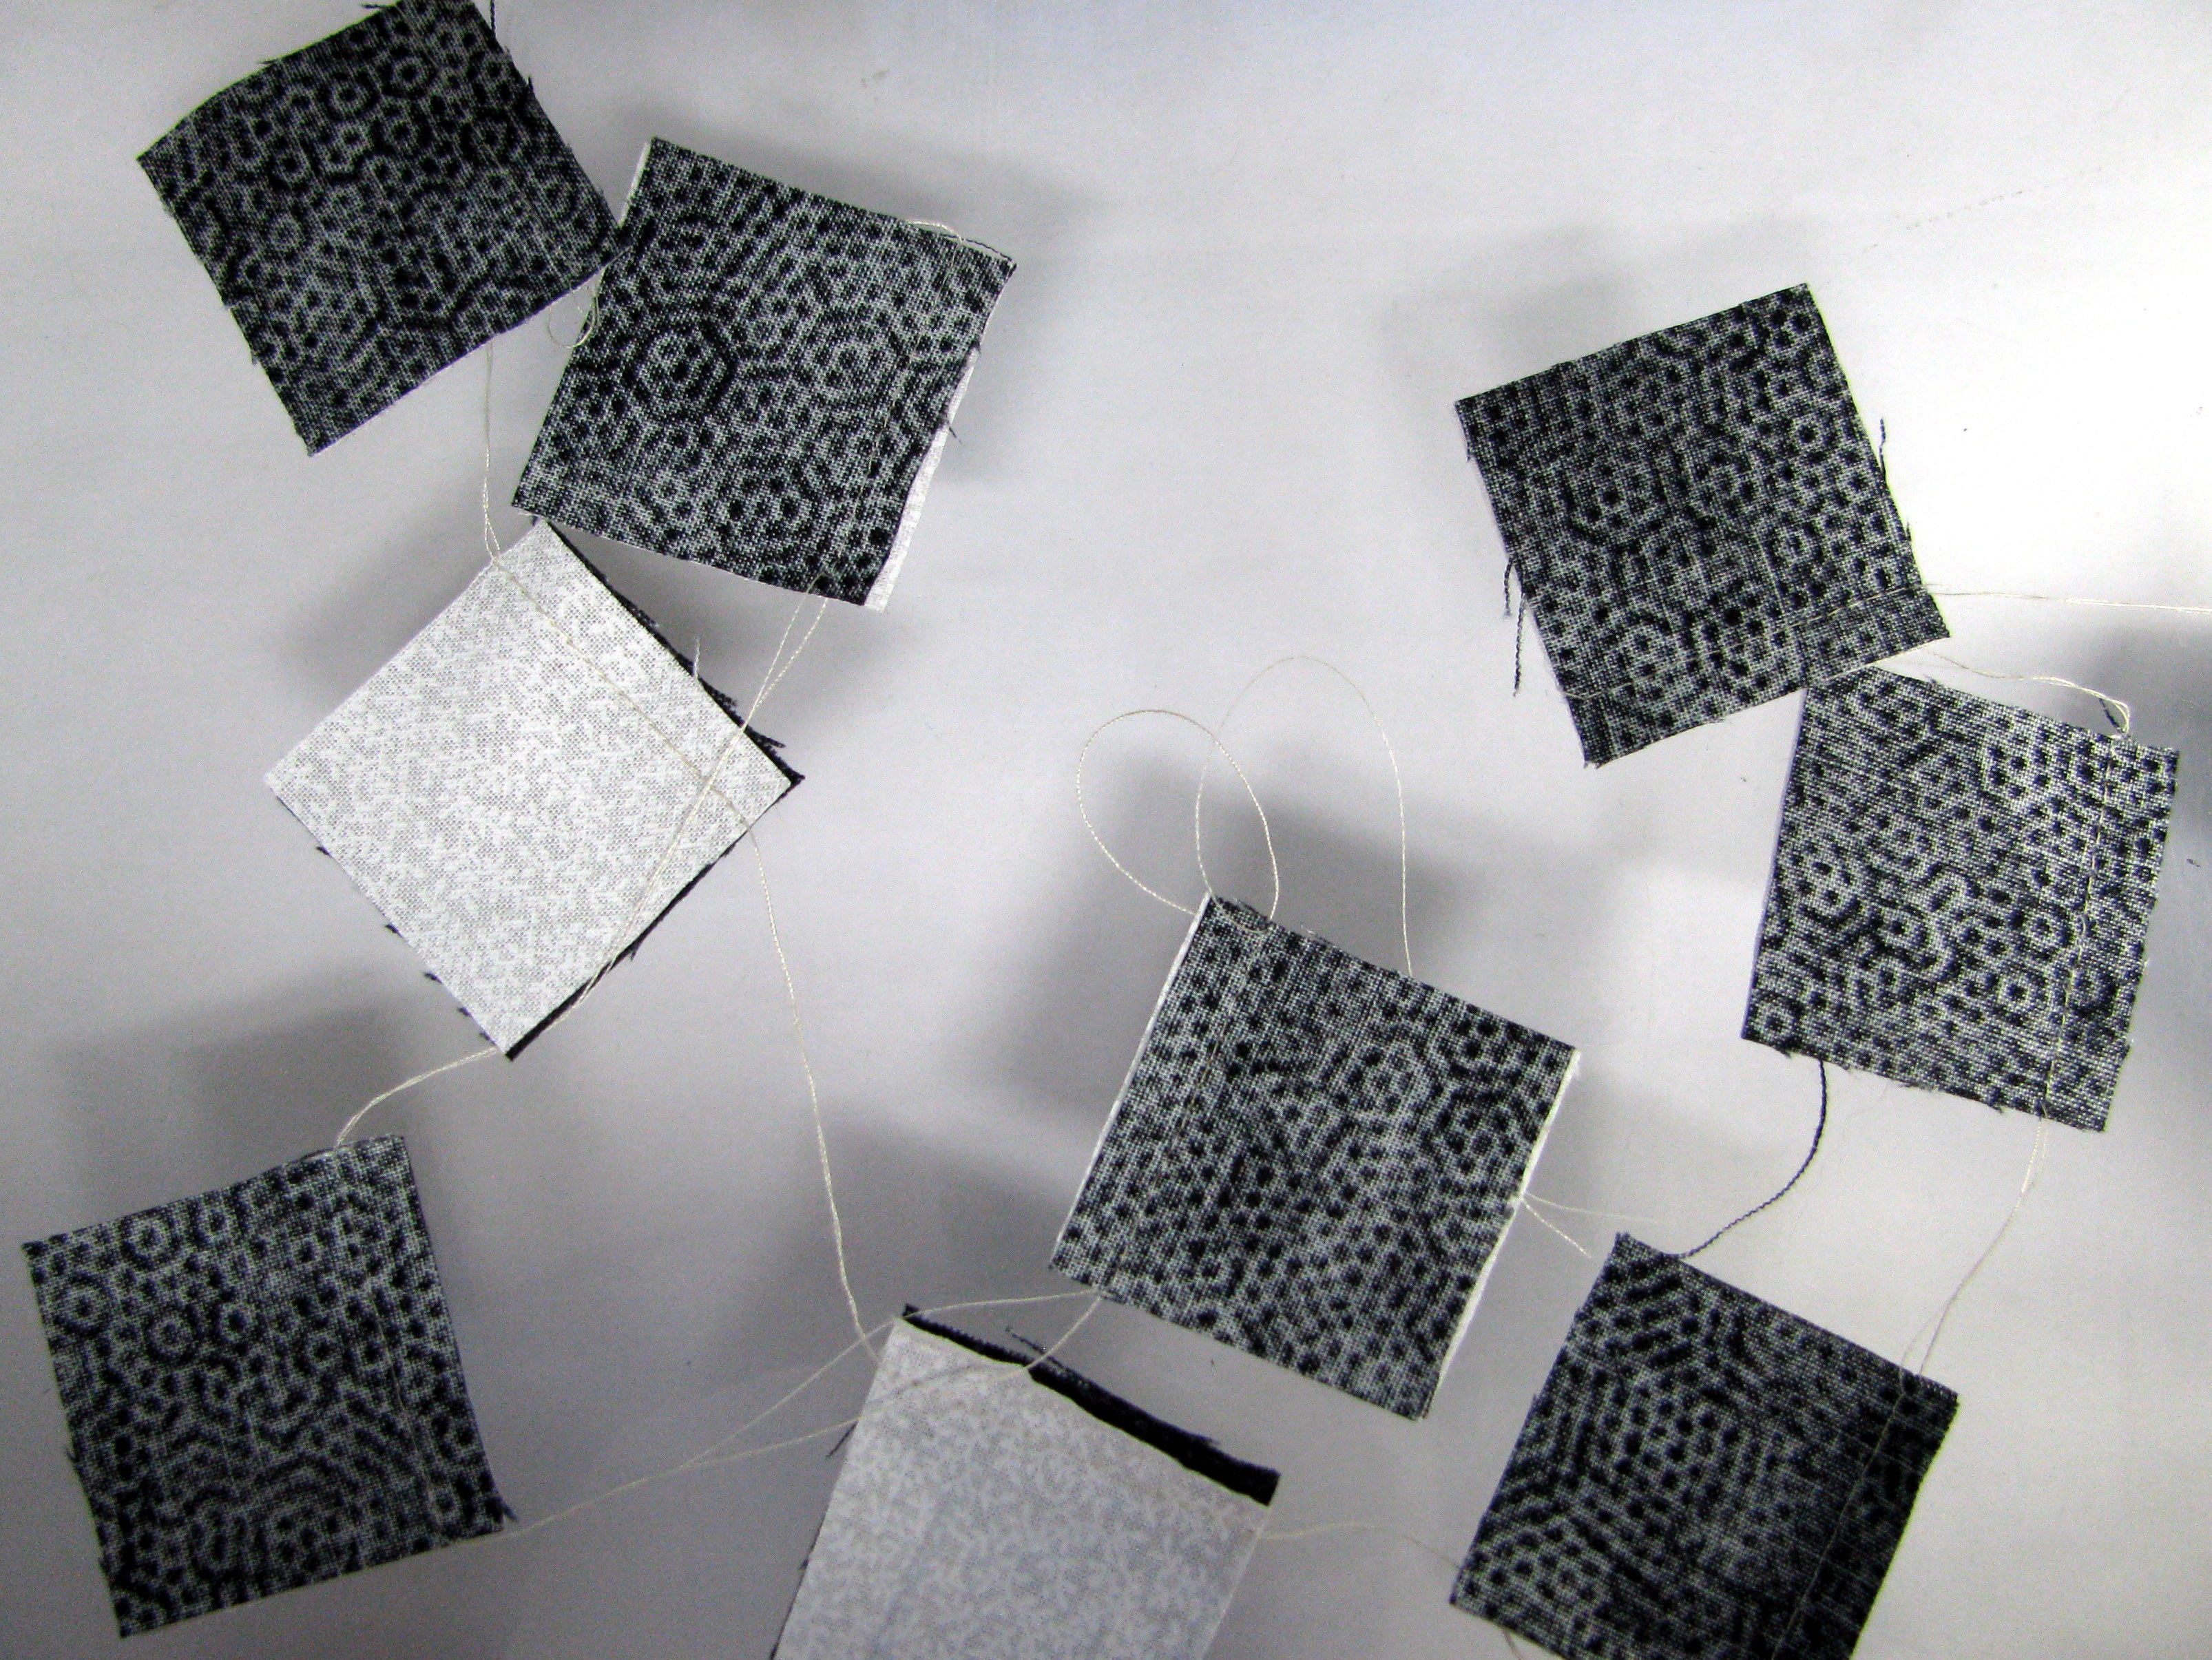
So, no choice. I will finish sorting these and cover all the containers. I have shelves for storage and they will serve me well. It has been fun to see what I have. Actually, it’s been inspiring. I started thinking about how some of the green scraps would make lovely tree foliage. So, it is not all for naught.

When I am through, I will have a tidy workspace, happier students and a nicer space in which I can create.

What is my advice? Do this process after every project. If you wait till you have heaps of scraps the task will be so daunting you will not want to do it…

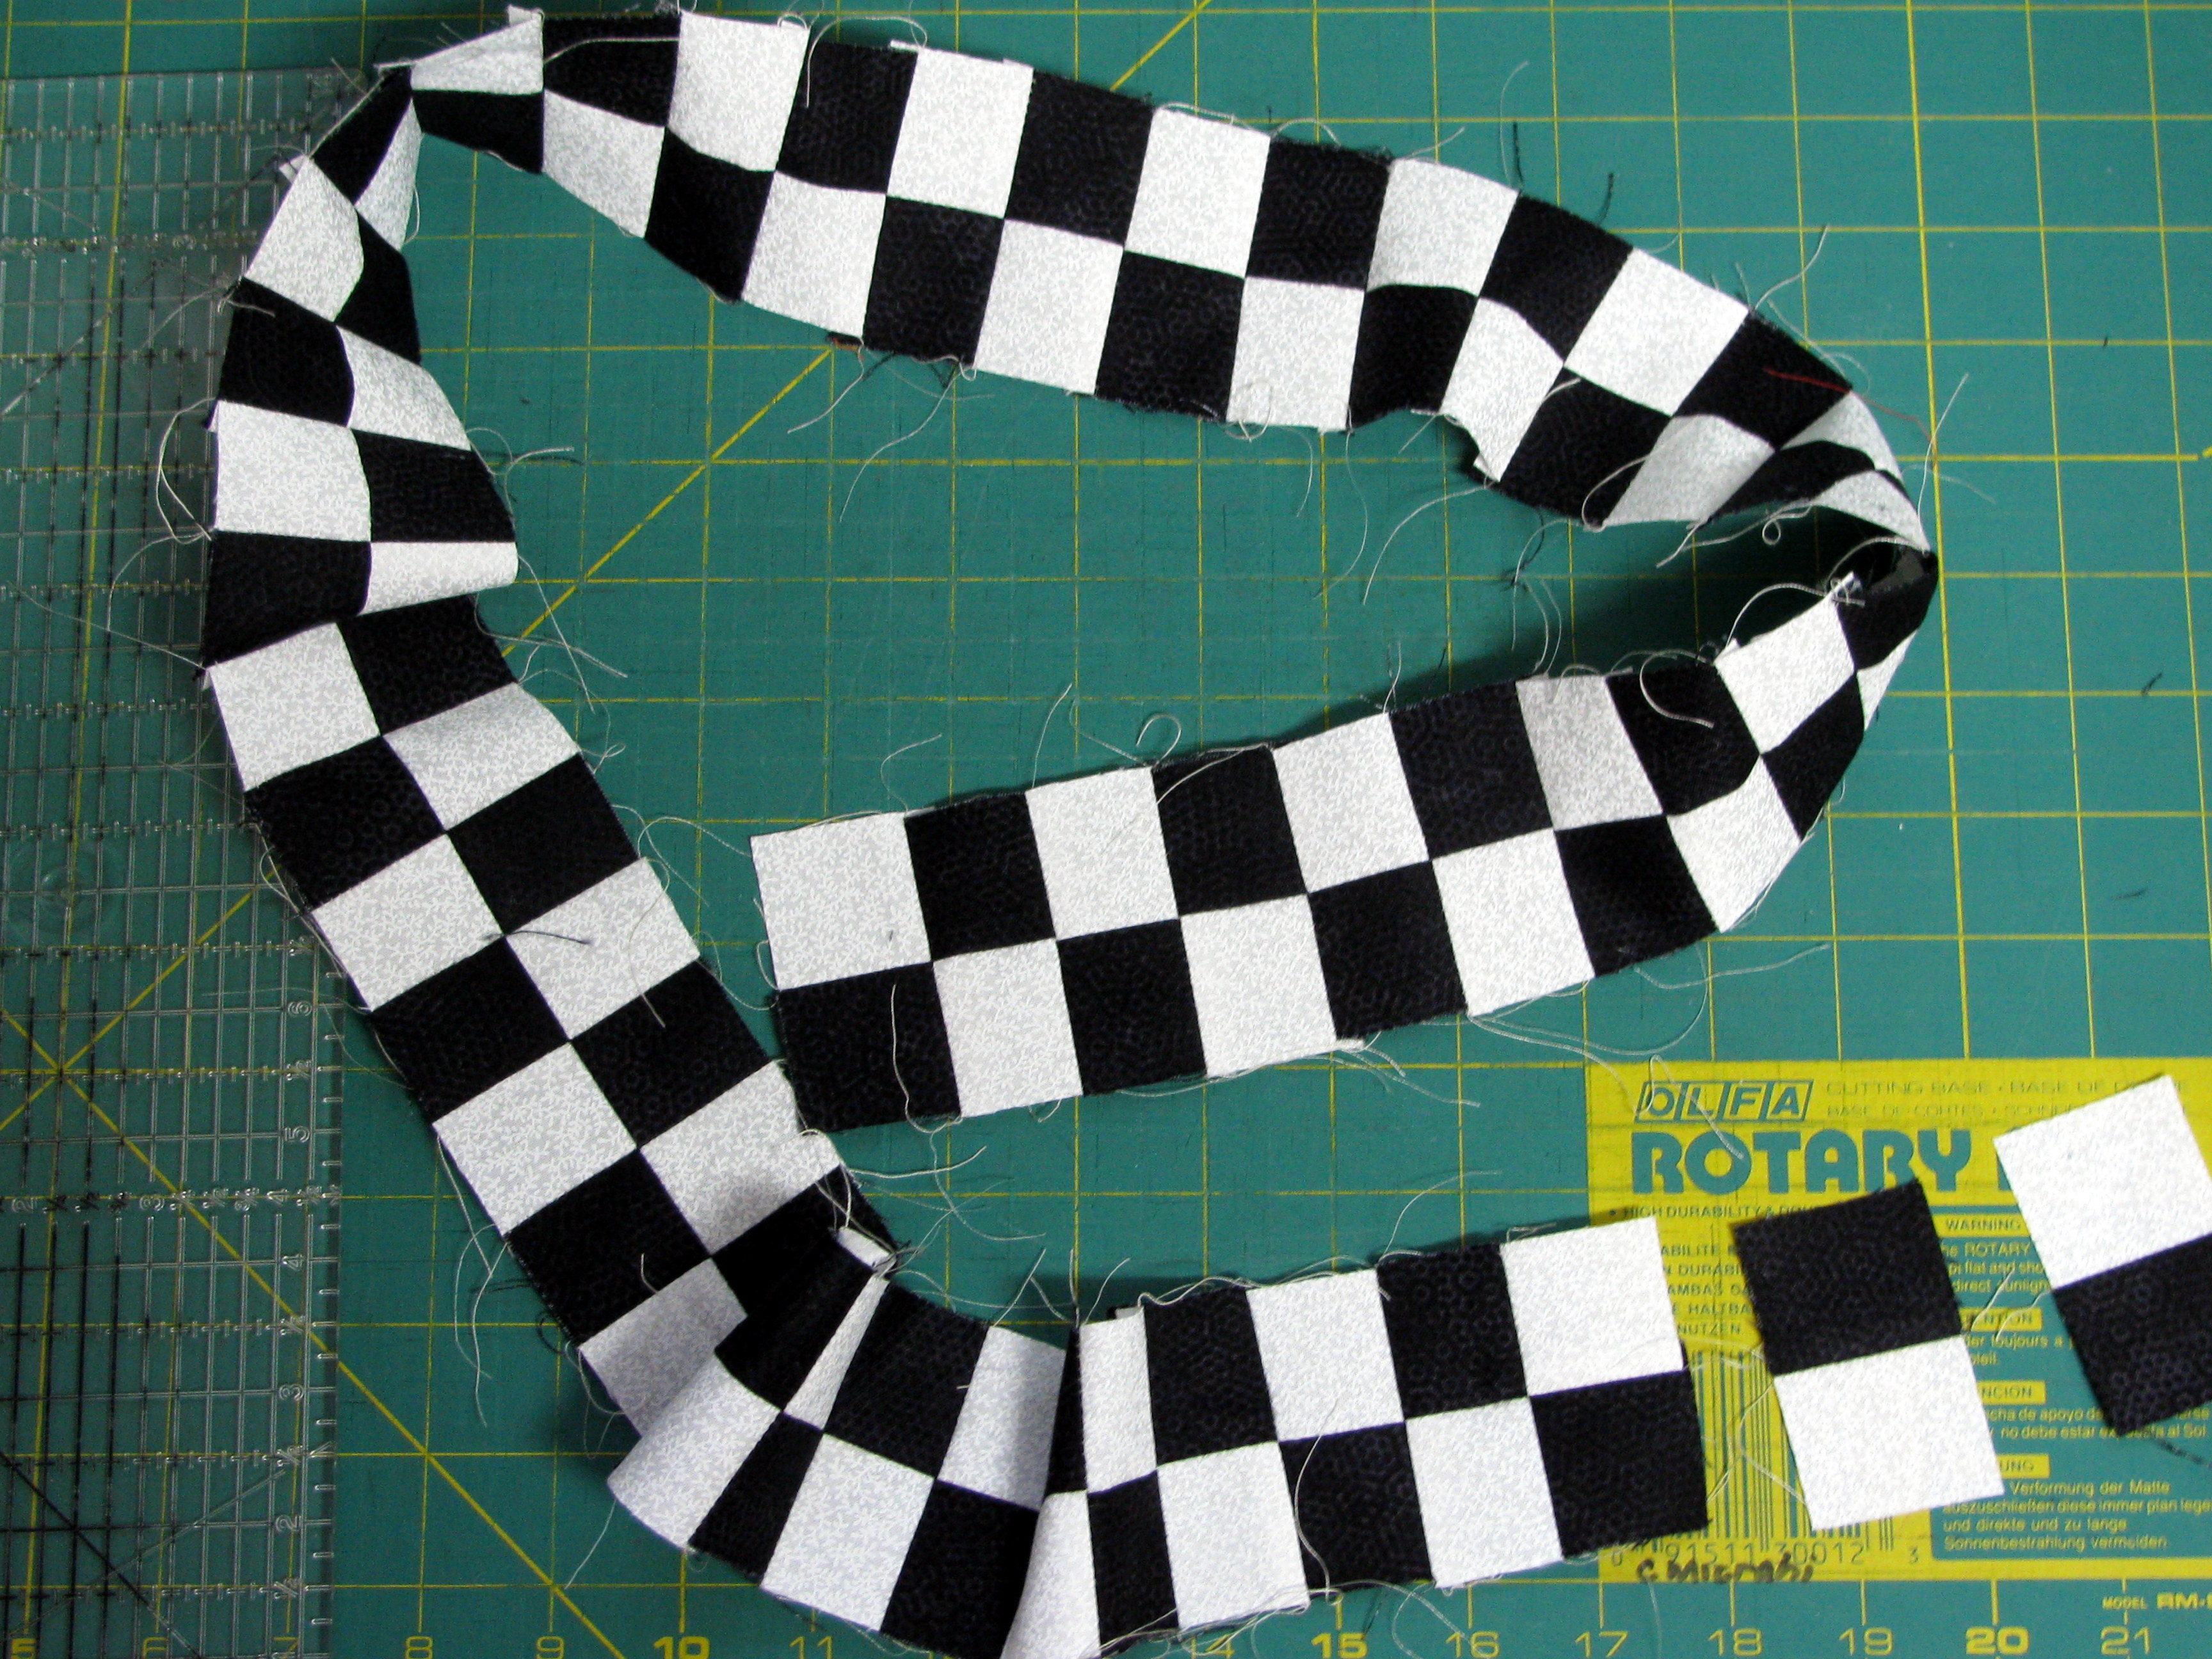
Here are a few photos of before and after… just to inspire you too.

Happy creating.

Piles of fabric scraps Organizing fabrics Gathering fabric snippets

0 In Art Techniques/ Contests & Exhibits/ Portraits/ Quilting Techniques

Color can evoke emotion in art


Color can evoke emotion in art. That is the theme of my latest work, “Tango Dancers”. Can you feel the extreme heat from the warm colors as well as the movement of the dancers?

To evoke passion and excitement, I used many values from the warm range of the color wheel. I think the varying values helped add contrast and made the background pop.

The focus of the piece is a pair of tango dancers in silhouette. I thread painted their musculature using warm colored thread. I layered another layer of batting behind the figures so they would also pop.

If the quilt is accepted, it will travel around the US for the next year as part of a SAQA exhibit, so wish me luck!

Dimensions: 38.25″ x 29″
Materials: Cotton fabric, cotton / polyester batting, interfacing, cotton thread

2 In Quilting Techniques

How I enlarged a 3-dimensional art quilt wall hanging design?

Finished Forest
I was recently approached to take one of my art quilt wall hanging designs, In the Forest, and enlarge it to 52″ x 43″. The buyer debated the size for a long time and ultimately, many emails later, decided she wanted the design to be double the size of the original. That’s not so hard, right? Wrong. The design has a 3-dimensional quality, which I needed to maintain while doubling the size. The challenge was that now she wanted the quilt to be longer than it is wide, exactly the opposite of the original orientation. Continue Reading →

0 In Classes/ Quilting Techniques

What do stained glass and quilting have in common?

Last week at the summer workshops of the Israel Quilters Association a group of us learned what stained glass and quilting have in common. The class was taught by my friend and teacher, Phyllis Cullen, the innovator of this technique.
The stained glass fabrics that worked best were vivid batiks, marbles and small prints. The designs we worked on, based on patterns that Phyllis supplied, were all set on black backgrounds. Then we were taught the tricks of fitting the patterns together and quilting the pieces. One new friend finished the quilt during the one-day class. I managed to finish the quilt top. It was a lovely, inspiring day.
Here is Phyllis teaching and another shot of some stained glass quilts that Phyllis made.
Phyllis Stained Glass Continue Reading →

0 In Classes/ Quilting Techniques

I am teaching fiber art quilting classes: Artistic quilt scenes

I teach fiber art quilting classes.

Have you ever looked out the window and thought, “I would love to capture this scene in a quilt”? Now you can!

The technique taught in this class will enable you to capture your favorite scene in a photograph and create it in a beautiful quilt. Your palate will be fabric and your paint will be thread. You will be able to achieve depth and three-dimensional qualities, almost as if you can walk into the scene yourself.

Level of class: Intermediate

1 In Quilting Techniques

Dyeing fabric is really enjoyable

I had not dyed fabric before yesterday. My friend Riki mentioned that she had some experience with it and she came over to share her knowledge. My daughter Danielle got up early to join in the fun.

Everything was ready… The table was covered and the pans for the dye were out and scraps of cotton fabric were piled high. So we went at it. We used rubber bands and pipe cleaners to make swirls and circles. We wrapped fabric around rice and lentils using rubber bands. This came out a little different than just winding bands around the fabric. Riki made an accordion out of one piece of fabric, which resulted in stripes after she soaked up dye on each side of the accordion. Danielle and Riki decorated a tee shirt from Danielle’s closet.

We read about different methods and dyes from dyeing expert, Paula Burch. Her site is really helpful and informative:  http://www.pburch.net/. By the way, we used dye that works on cottons, called Rit dye (www.ritdye.com).

We poured a little bit of dye and some boiling water into aluminum pans and started dunking and swishing the fabrics in them. Although we wore gloves, we all ended up with teal colored fingers. Oh well, that’s the price for fun.

Here are some photos of our morning. I’m ready to do it again! Who wants to join us?

Skip to content