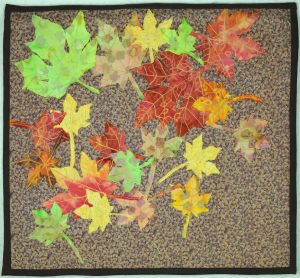
I needed a break from the landscape project, so I worked with fall-color maple leaves and made a mini-wall hanging.
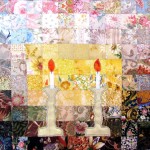
I also made a watercolor challah cover in the meantime.
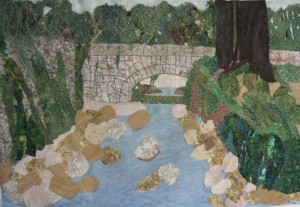
I went back to the landscape with new energy and ideas and here is a photo showing what it looks like after some thread painting has been applied. Keep in mind that this the sixth version of this landscape. Sometimes it requires a lot of stick-to-it-iveness to get the job done!
Notice the trees — I gave them some texture and lightened them so they aren’t the focus anymore. I will eventually work on the bridge so it becomes the center of attention.
Look at the trees in the background. A little corner on the right does not yet have thread painting. You can see the difference. The thread painting, done with variegated thread, yarns, and tulle adds a third dimension to the trees. Without it, the trees on the right look flat.
I’ve done some work on the brush on the hills. I shall let it sit a little on my design board till I decide if it is enough or needs more dimension. I’ve played with some of the highlighting throughout, particularly on the right.


2 Comments
Phyllis
November 9, 2010 at 1:41 pmComing along nicely, Cindy. as you want the bridge to be the focal point, you might add more interest to it. I like the little touches of moss growing in the cracks, for example. Maybe some cracks in the rocks, dirt, a few tiny flowers in the cracks? certainly some light to dark shading to reflect the sun’s direction to add to the 3-D quality there. always add the most detail to the area that is your focal point.
The foliage thread painting is perfect- you want to keep the contrast low here- in the distance.
When you getto the river rocks, remember they are in the foreground so a bit of detail. Don’t make them too round, and be sure they have a light and dark side.
Phyllis
Cindy
November 10, 2010 at 1:41 pmThanks, Phyllis for your help, advice and time. I will post again once I have implemented your comments. Cindy